The Scene Tab
How to create and design a scene.
Project Folder Viewer
- On the left side a tree view of all existing project folders is shown.
- Click on a folder to expand or collapse it.
The Scene Tab Menu Buttons
| Button | Function |
|---|---|
| Import Project | Import a project folder. |
| New | Create a new scene. |
| Save | Save the current scene. |
| Export for Web | Export a folder containing all the files needed for easy integration into a webpage. |
| Export Image | Export the current scene as image. |
Import a Project
To import a project folder, go to the Scene tab, click Import Project and choose the corresponding project folder. If you want to keep the project folder in its original place choose copy project to Authentica data folder otherwise choose move project to Authentica data folder.
Export for Web Options
If a scene is exported for presentation in a web environment a variety of options is available where the configuration and behavior of the web viewer can be specified.
- In the
Web Viewer Interfacesettings panel you can specify which viewer buttons should be included. - In the
Pointing Devicesettings panel the functionality of the pointing device can be specified.- If
Scroll (Zoom)is activated, zooming in and out by scrolling in the viewer area is enabled. - The
Drag Modesettings allows you to specify if dragging in the viewer area moves the light source (Light Direction) or the content (Pan).
- If
- Control of the light direction by the viewing devices orientation sensor can be activated in the
Device Orientationsettings panel. If the device is held parallel to the ground the light direction is perpendicular to the scene shown in the web viewer. By tilting the device, the illumination angle changes recreating a realistic visual impression. The changes in device orientation can are amplified if theAmplify Device Orientation Controloption is activated.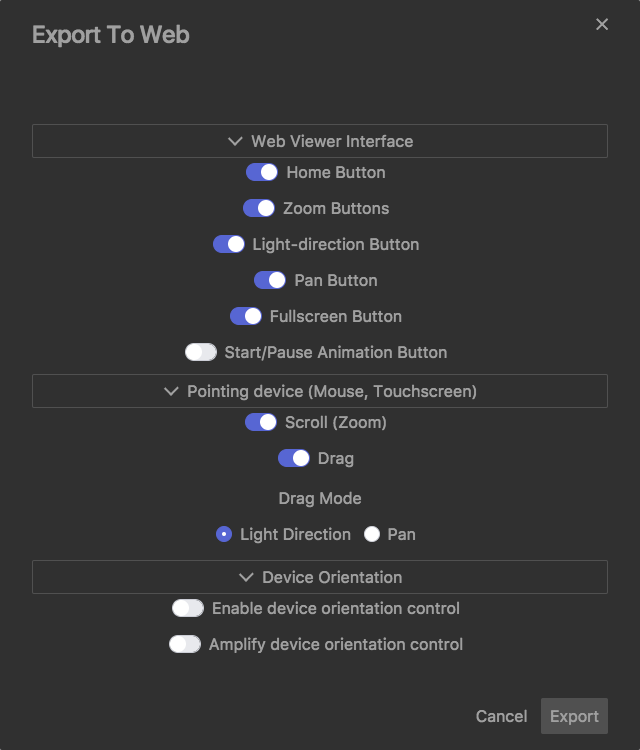
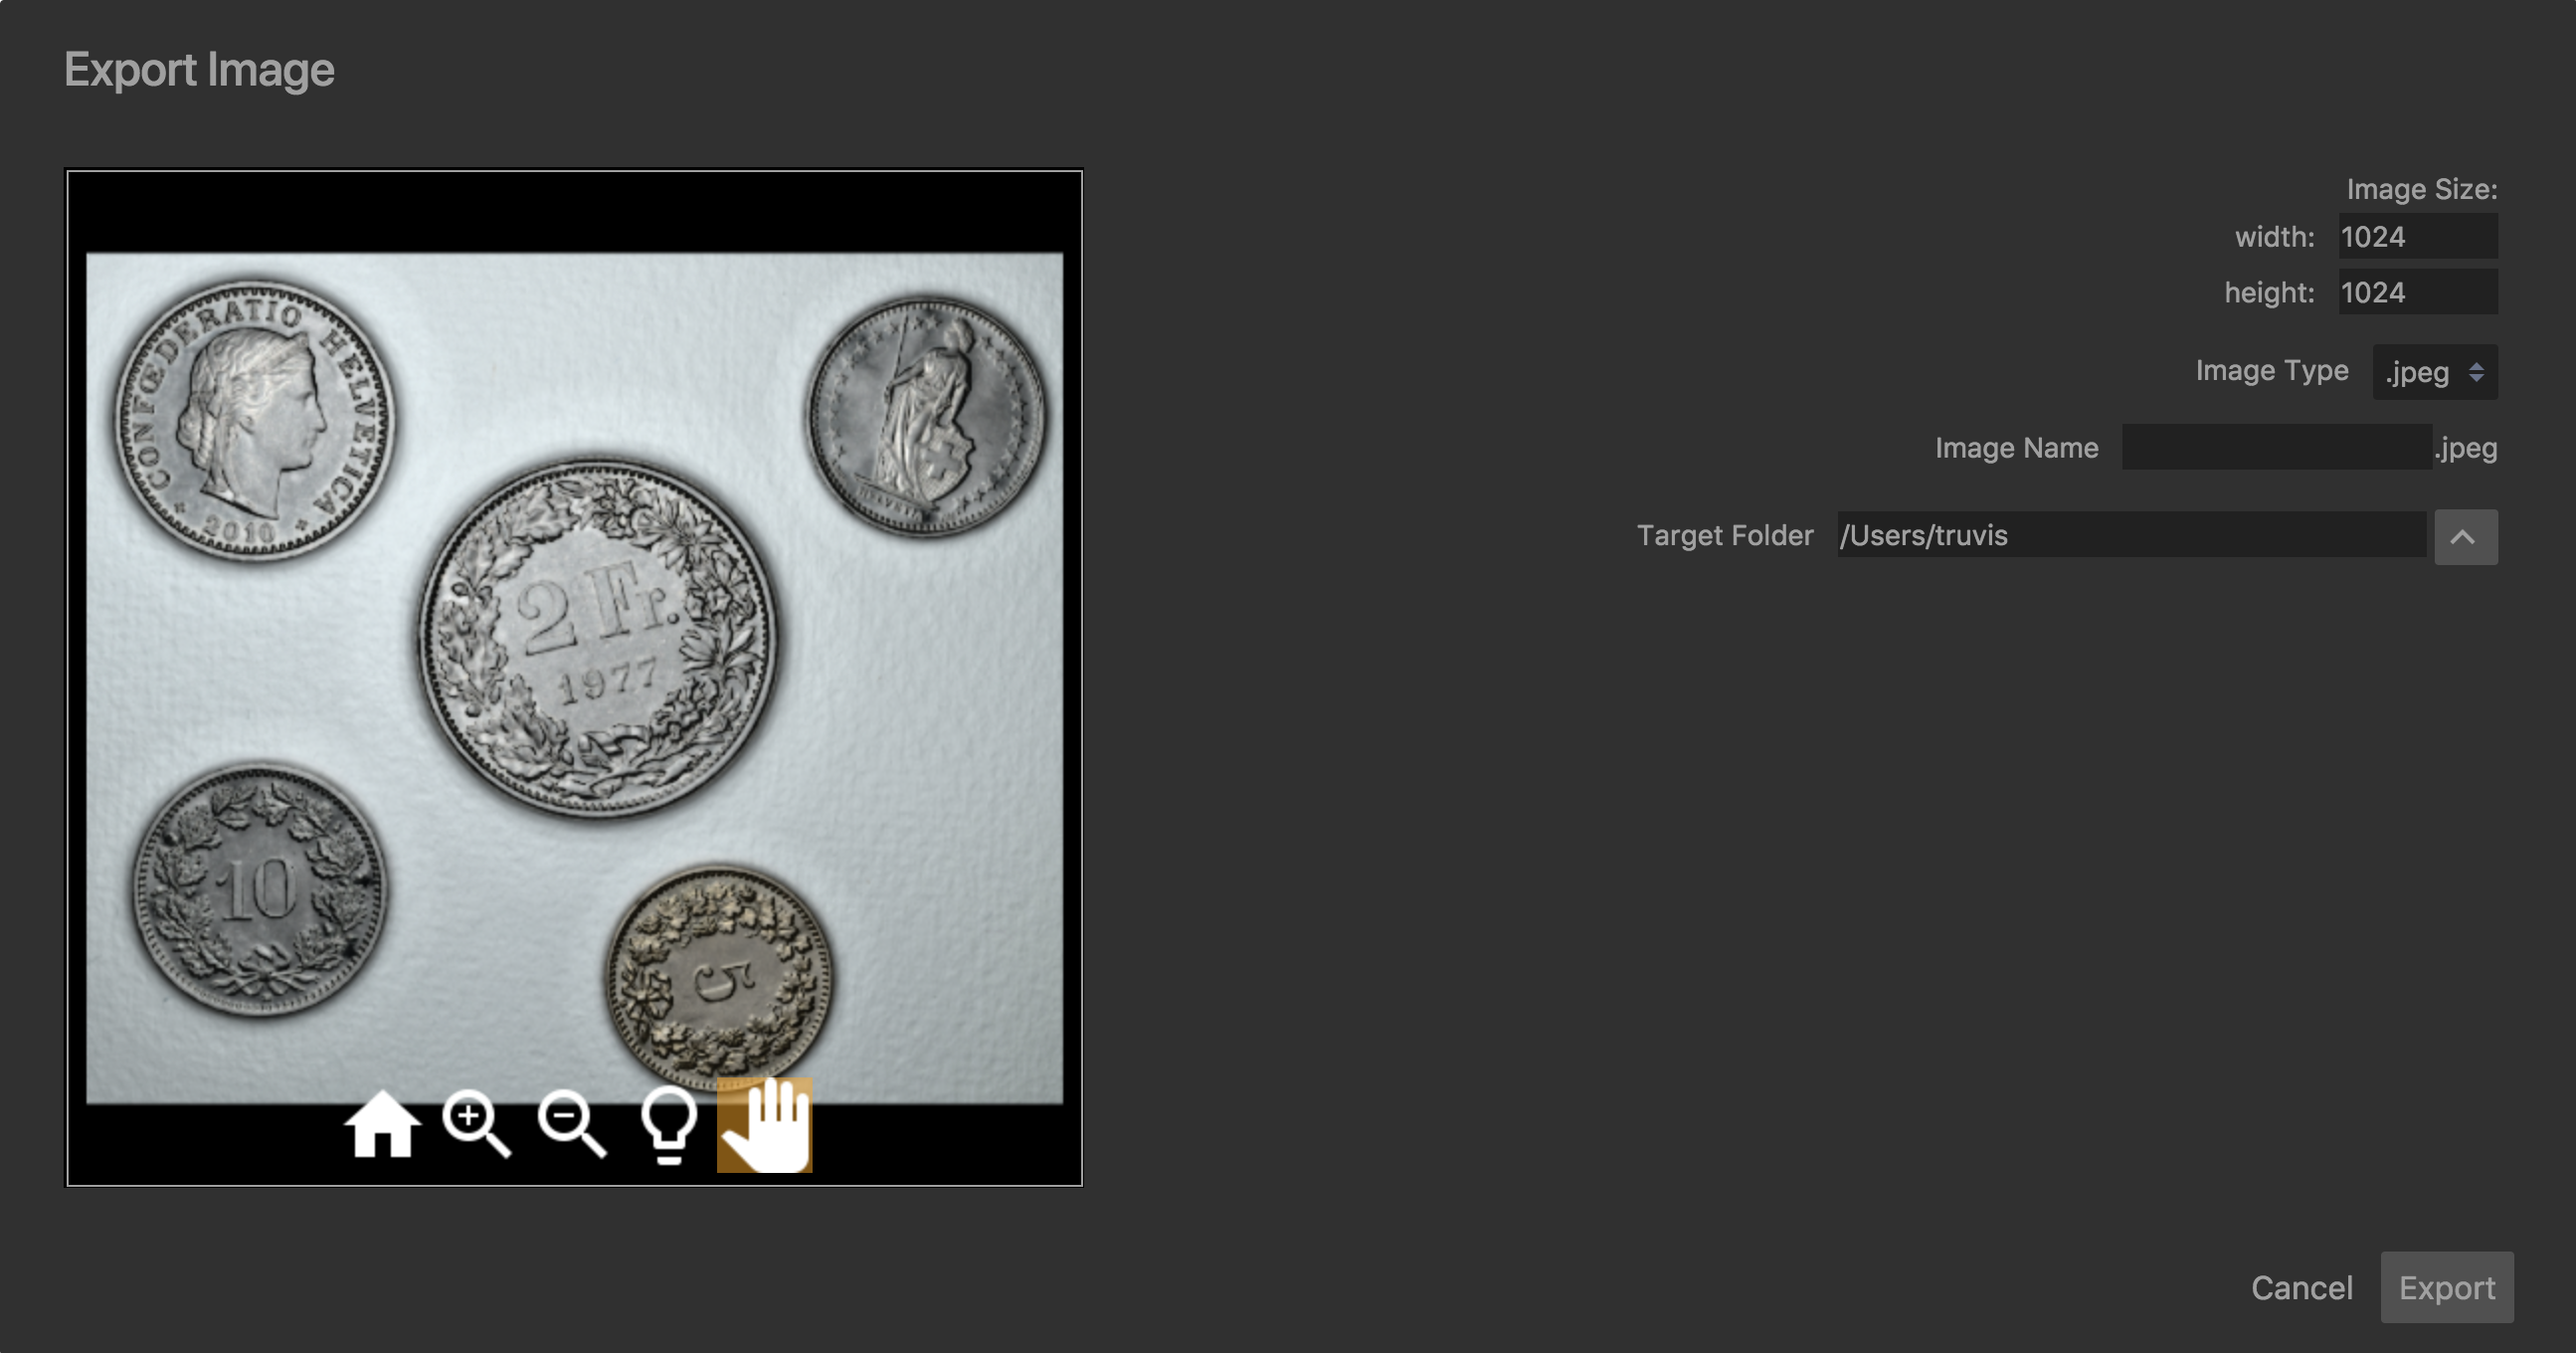
Export Image Options
If you want to export a scene or part of a scene as an image you can specify the section, format and size of the exported image here. Make sure you have set the lighting as needed beforehand since it can not be changed here anymore.
- In the window on the left hand side you can choose the section of the scene you want to export using the viewer buttons.
- In the
Image Sizesettings you can specify the size of the exported image. - In the
Image Typesettings you can choose from different file formats like PNG, JPEG and TIFF. - Additionally you can enter a name for the exported image and specify in which folder it should be saved.
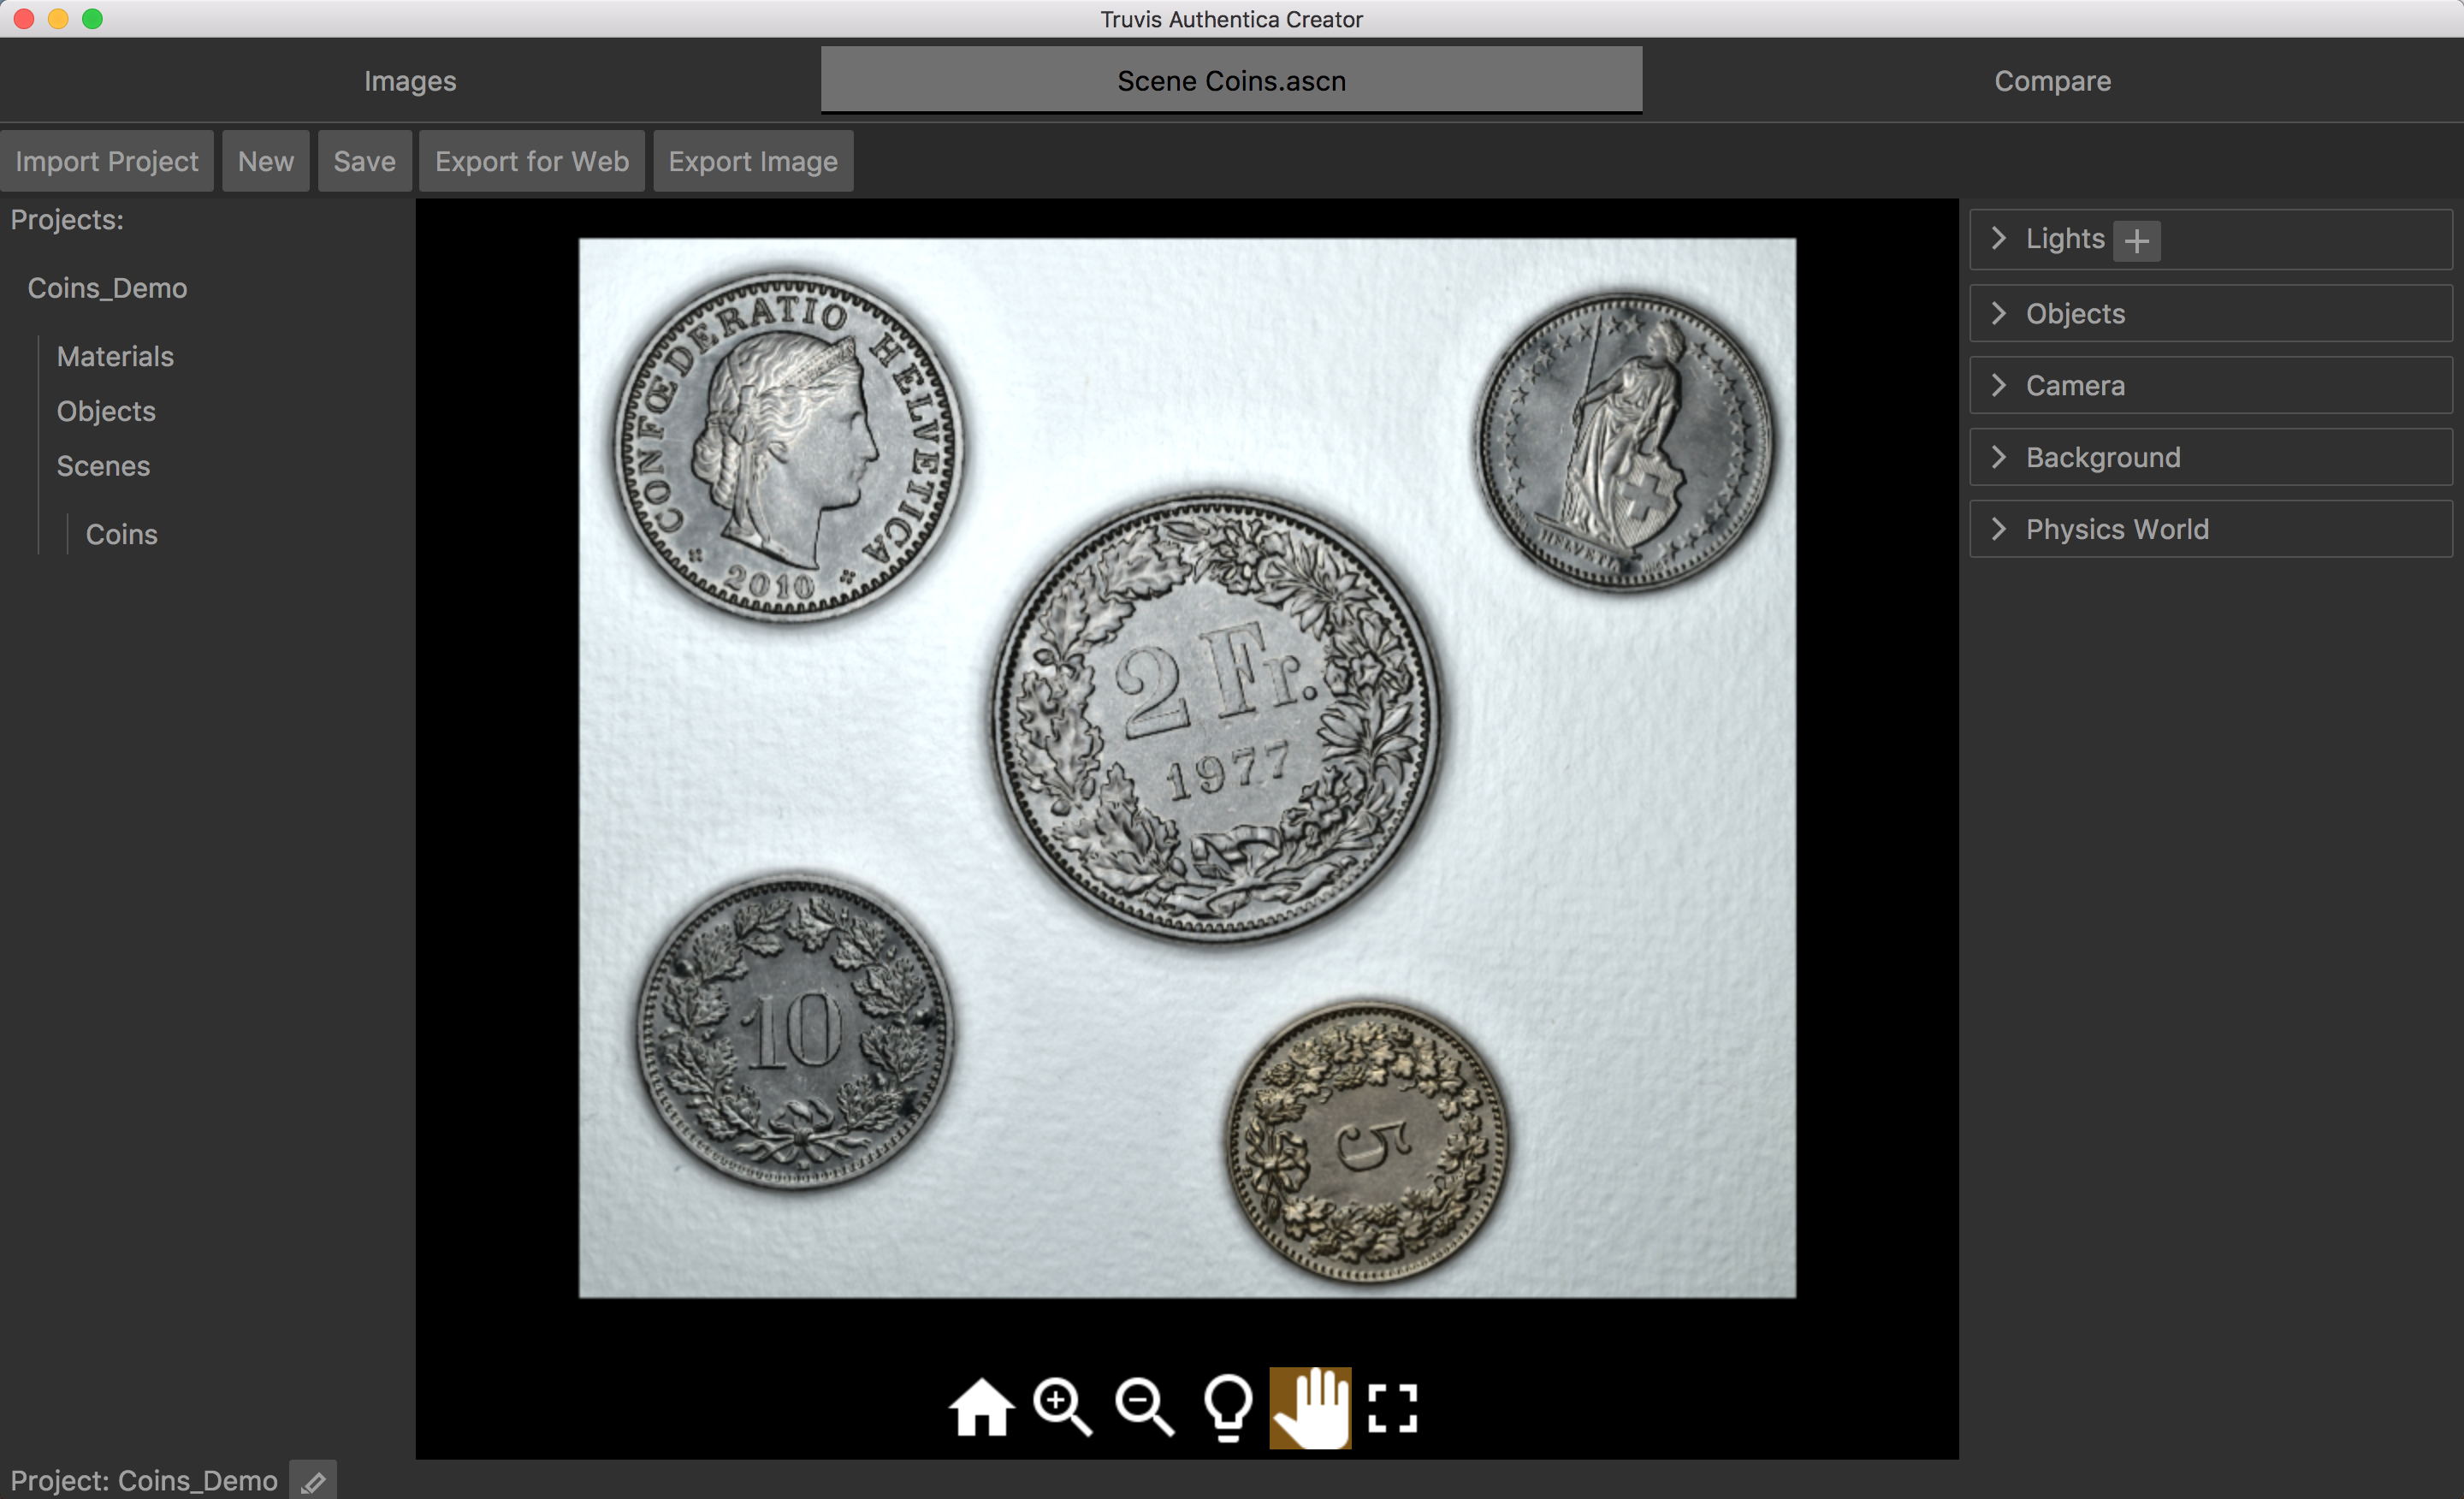
Viewer Area and Viewer Buttons
- The current scene is shown in the viewer area.
| Button | Function |
|---|---|
 |
Reset to initial camera settings. |
 |
Zoom in. |
 |
Zoom out. |
 |
Change position of the directional light. |
 |
Move camera. |
 |
Run/Pause physics. |
 |
Fullscreen view. |
Setting Panels and Fields
On the right side of the Authentica Creator window all settings are organized in panels which can be expanded and collapsed for a better overview.
For all setting fields it is possible to either type a value directly into the field, use the up/down keys of the keyboard or scroll up/down to increase/decrease the value for the setting.
To set colors, simply click on the color field. A window will appear which gives you all standard color setting options.
Light Settings
- In order to find the material settings which give the most realistic representation, the light settings should be chosen as close as possible to the lighting under which you are viewing the real material. Only like this the real material can be used as a reference since the materials appearance is also dependent on the lighting.
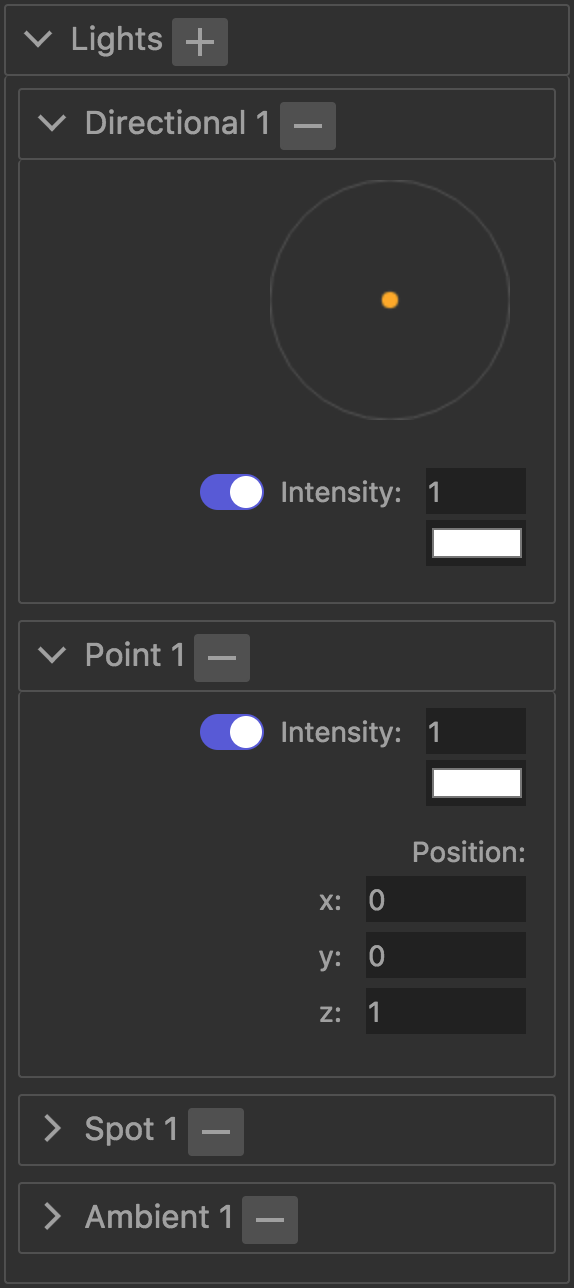
- To add a light source click +, to remove it click -. If you add a light source a pop-up menu appears where you can specify if a directional, point, spot or an ambient light source should be added and choose between several standard light sources or a custom light source.
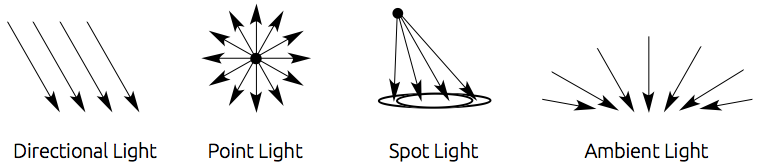
- Directional lights are light sources which emit parallel beams of light from a well defined direction. To change the direction click into the circle and position the light. The light direction can also be changed from within the viewer area. If the viewer button is activated, the light direction can be changed by dragging in the viewer area.
- Point lights are light sources which radially emit light beams.
 In contrast to the directional lights they can be placed closer or further away from the material surface resulting in different effects. The position of the point light is set by choosing x, y and z values.
 - Spot lights are similar to point lights but only emit light within a specified solid angle which can be specified by entering a number between 0 and 180 in the field next to
Angle:. You can also specify how sharp the light should drop off at the border of this angle by entering a number between 0 and 1 in the field next toPenumbra:. The direction from which the spot light illuminates the scene is set by moving around the yellow dot in the circle. The position of the spot light is again set by choosing x, y and z values. - Ambient lights are light sources which illuminate the scene evenly from all directions.
- For all types of light sources the intensity and color can be set.
Interactive Lighting in a Web Environment
Note that only the first directional light (Directional 1) can be moved from within the viewer area. So all except this directional light are static when the scene is shown in a web environment.
Object Settings
- To add an object click on the object in the project folder viewer and choose
Addin the following dialogue. - To remove an object from the current scene click -.
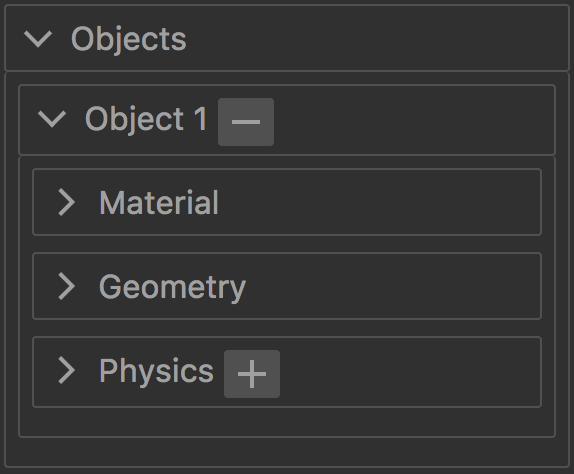
Material Settings
- Once you set the light settings to the lighting conditions under which you are looking at the real material, modify the material settings until the digital material looks and behaves like the real material. The Compare tab can be helpful in this process since it allows to view two objects with different material settings under identical lighting conditions.
Intensity:Set the intensity of the material color.Color Correction:If the materials color does not exactly meet the color of the real material a color correction can be applied here. For applications which require high color fidelity see also the section on color management.- Difffuse:
Intensity:Set the intensity of the materials diffuse reflection.
- Specular:
Map Intensity:Set the intensity of the spatially resolved specular reflection.Global Intensity:Set the intensity of the specular reflection for the whole material.Sharpness:Set the sharpness of the specular reflection.
Render Function:Choose between different render functions: Authentica A uses the standard RTI rendering method where the specular reflection is normalized with respect to the diffuse reflection whereas Authentica B uses more of a standard Phong illumination model approach where the specular and diffuse reflection are treated completely independent of each other.Surface EnhanceApply settings which enhance the surface structure. In some cases the settings proposed by Authentica Creator still need to be fine-tuned to obtain optimal results.Mask:A mask can be added to the material to exclude the background which has been used during the acquisition. Click + / - to add/remove a mask to this material. Whenever a mask is added the current light and material settings will be saved automatically.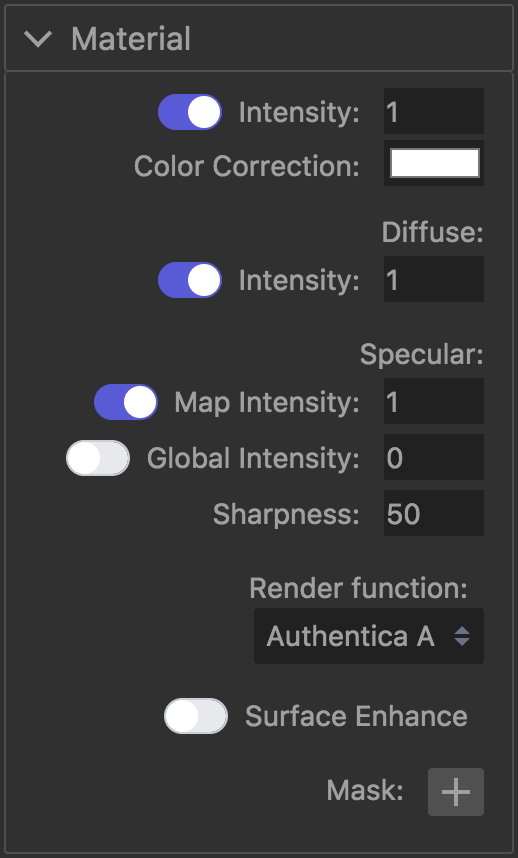
Reflection Explained
The materials reflection behavior is described by a diffuse and specular part.
The intensity of the diffuse reflection depends on the angle of the incoming light but is independent of the viewing angle.
The intensity of the specular reflection, colloquially called gloss, depends on the illumination and viewing angle. The material generated by Authentica Creator contains a map which spatially resolves the specular reflection properties of each pixel (Map Intensity). This allows to realistically render materials which have more and less glossy regions.
Additionally, a global specular reflection can be added to the material which increases the gloss evenly for the whole material (Global Intensity).
How to Create a Mask
- Open one of the TIFF input images in Photoshop or any other image processing program.
- Select the area of the image which contains the material and fill it with white.
- Invert the selection and fill with black.
- Set the image mode to grey scale.
- Save as TIFF image.
Advanced Settings
To access these settings you first have to choose Tools -> Show Advanced Controls from the menu bar. You will be presented with three additional options within the Material Settings:
-
Diffuse:
Ease OutExtrapolate the diffuse reflections behavior for very small illumination angles.
Flat NormalsUse flat surface normals for the Ease Out extrapolation. -
Specular:
Flat NormalsUse flat surface normals for the rendering of the specular reflection.
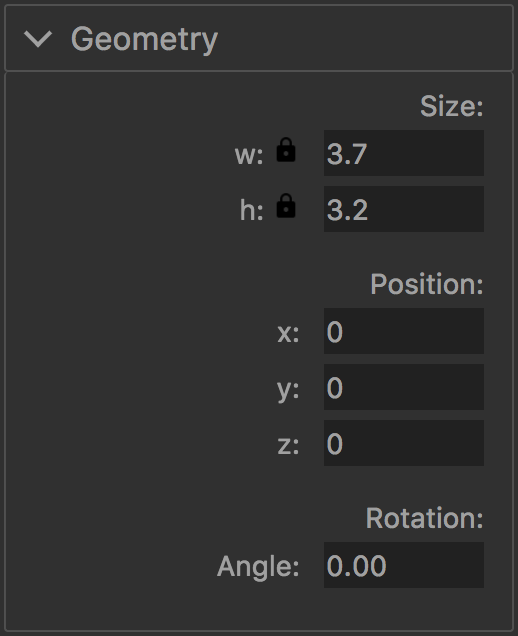
Geometry Settings
- Set the size of the object by choosing either the width
w:or heighth:. - To change the width and height independently click the
 icon first.
 - The position of each object is set by choosing x, y and z values.
- If two objects have the same z value, the one which has been added later will be placed in front of the object already in the scene.
- Objects can also be rotated about the z-axis. Positive angles rotate the object counter-clockwise, negative angles clockwise. The center of the rotation is always the center of the material and not the object.
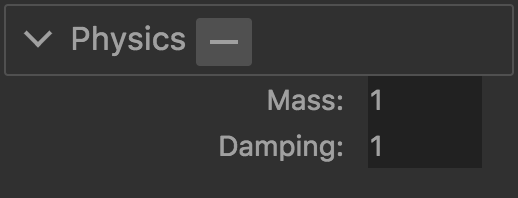
Physics Settings
- Click + / - to add/remove a physics animation to/from this object.
- Click the pause/play button in the viewer area to pause/run the physics animation.
- Set the mass and damping of this object for the physics animation. The values for the mass and damping have no physical unit.
Warning
The physics animation only works properly if the object hasn't been rotated.
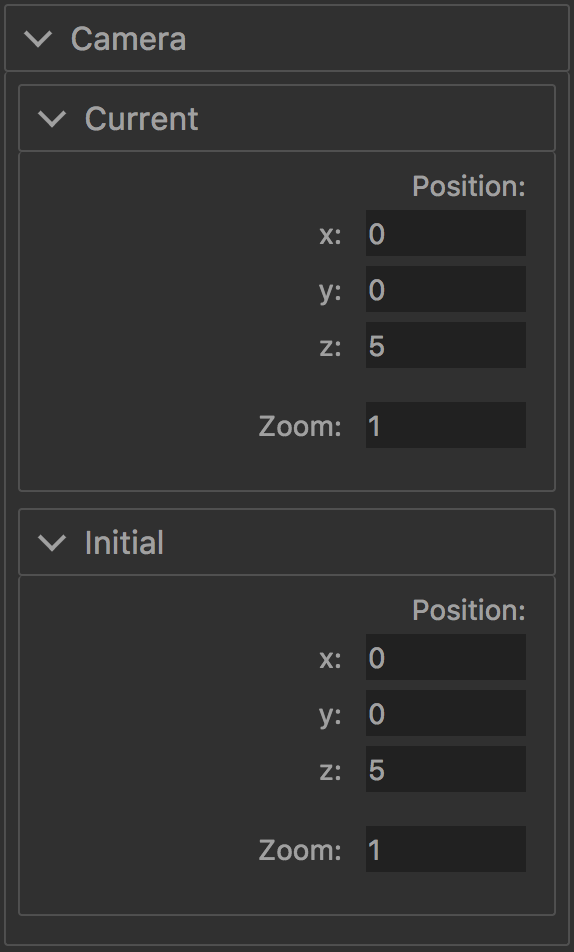
Camera Settings
- Current:
Set the current position and zoom of the camera through which the scene is viewed. Alternatively, the current position of the camera can also be changed by clicking on the icon and dragging in the viewer area. - Initial:
Set the initial position and zoom of the camera through which the scene is viewed. Click the icon in the viewer area to see changes in the initial camera setup.
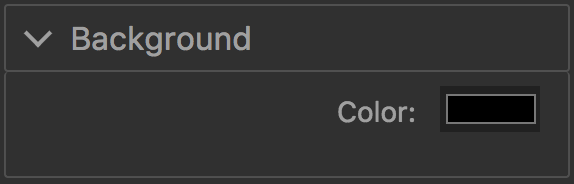
Background Settings
- Set the background color of the current scene.
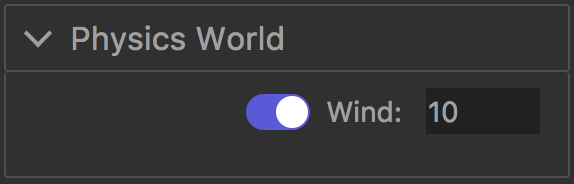
Physics World Settings
- These are the settings for the physics animation which are applied to all objects in the current scene.
Wind:Set the Intensity of this physics animation.- In this version of Authentica Creator only one physics animation is available which simulates a cloth flapping in the wind.