Shell
In this example you will learn:
- How to set up the Authentica main data folder.
- How to generate a material, object and scene from 48 TIFF images.
- How to add a mask and use the
Surface Enhancefeature.- How to export images.
Set up the Authentica Main Data Folder
- Open Authentica Creator.
- If you open it the first time, accept the license agreement. If you want to use the demo version (valid for 30 days) click Later. If you have purchased a license enter the license key.
- In the next dialogue you can set the Authentica main data folder which will contain all projects you create.
- For this example we place the main data folder in ".../Users/YourUsername" and name it "Authentica".
Generate a Material, Object and Scene
- Download the zip archive Example_2.zip and unpack it.
- You can create a new project and set the active project by clicking on the
 icon in the lower left corner of Authentica Creator.
 - Click the icon and choose "Shell" as a project name and create a new project folder named "Shell" within the Authentica main data folder.
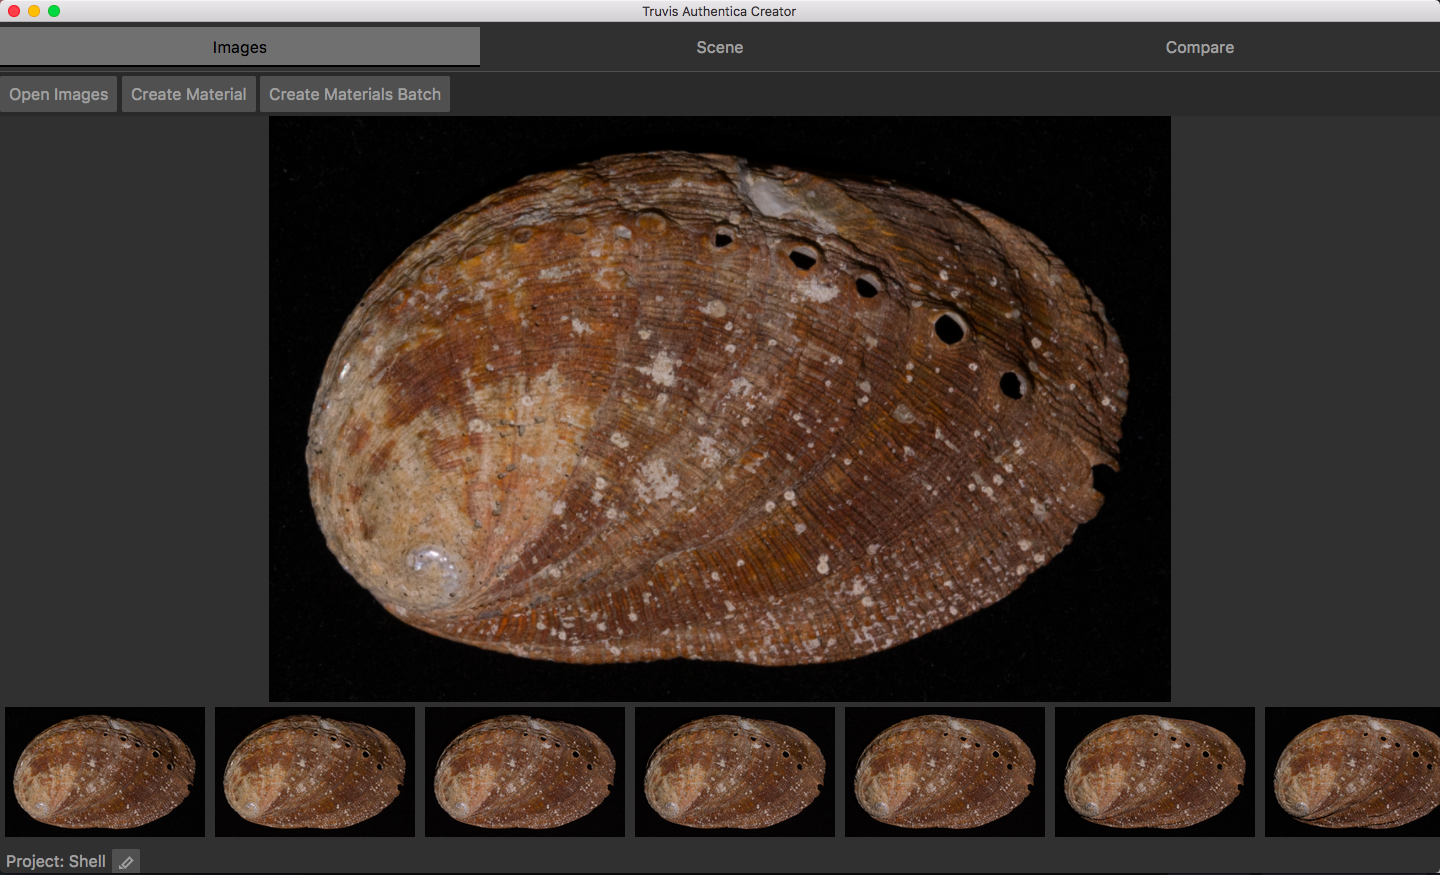
- Go to the Images tab and click Open Images. Direct Authentica Creator to the folder ".../Example_2/Shell_TIFF" which contains 48 TIFF images captured with the broncolor Scope D50.
- Now you should see a preview of all the input images. This step is not mandatory but allows you to review the input images and make sure they are suitable as input images.
- Click Create Texture. In the pop-up dialog choose "Shell" as a name for the object, and select "Scope D50" as a device. Then click Create.
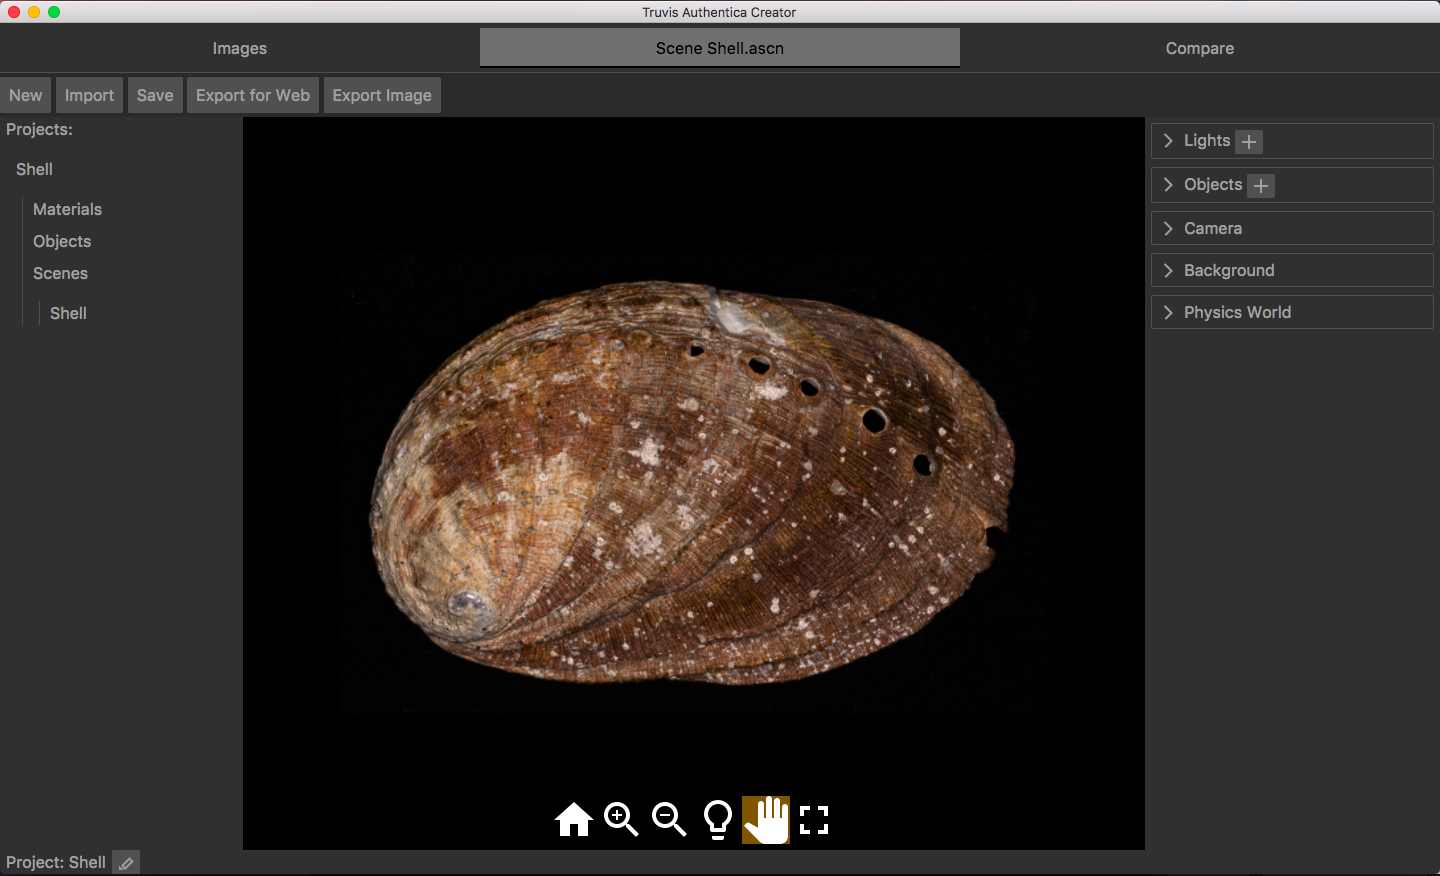
- After 2-3 minutes Authentica Creator should be finished with the calculations and the generated scene is shown in the Scene tab.
Overview of the Scene tab
- On the left hand side of Authentica Creator you can see the project folder structure. A project folder always contains 3 subfolders named "Materials", "Objects" and "Scenes".
- Since we have only one object in the scene which contains only one material, each of the folders contain only one entry named "Shell".
- On the right side you find setting panels for the scene like the lights, objects, camera, background and physics settings.
Add a Mask and Surface Enhance Feature
- To see the effect of a moving light source, expand the light settings panel, click in the circle next to the directional light "Directional 1" and drag the yellow dot (indicating the light position) around. Alternatively, click the
 button in the viewer area and change the light direction by dragging in the viewer area.
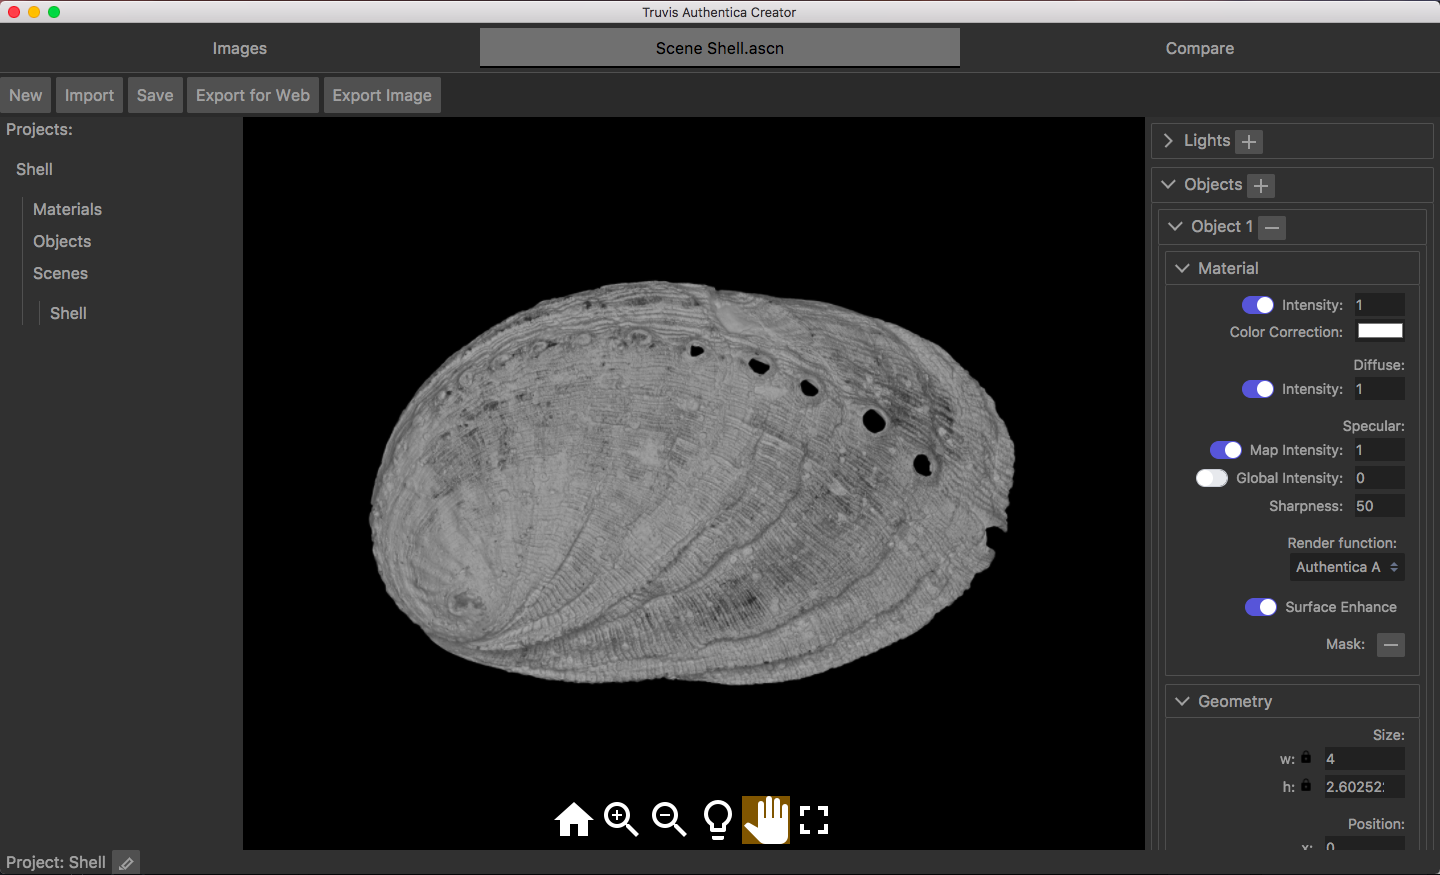
 - Expand the material settings of "Object 1" and switch the
Surface Enhancefeature on. In some cases the settings proposed by Authentica Creator still need to be fine-tuned to obtain optimal results. For this example we set the specularGlobal Intensityto 0. - If you move the directional light source you can see the surface structure in detail. But you also notice that the background, which was invisible before, suddenly appears as a structured surface as well. To mask the background a mask has to be added to this material.
- Expand the material settings of "Object 1". To add a mask, click the + button at the bottom of the material settings and choose the file ".../Example_2/Masks/mask_shell.tif".
Export Image
- Lets assume we have found some interesting surface feature, when the shell is illuminated from just the right direction and would like to share our findings.
- Click Export Image and save any section of the scene as an image.