The Images Tab
How to review TIFF input images and generate materials.
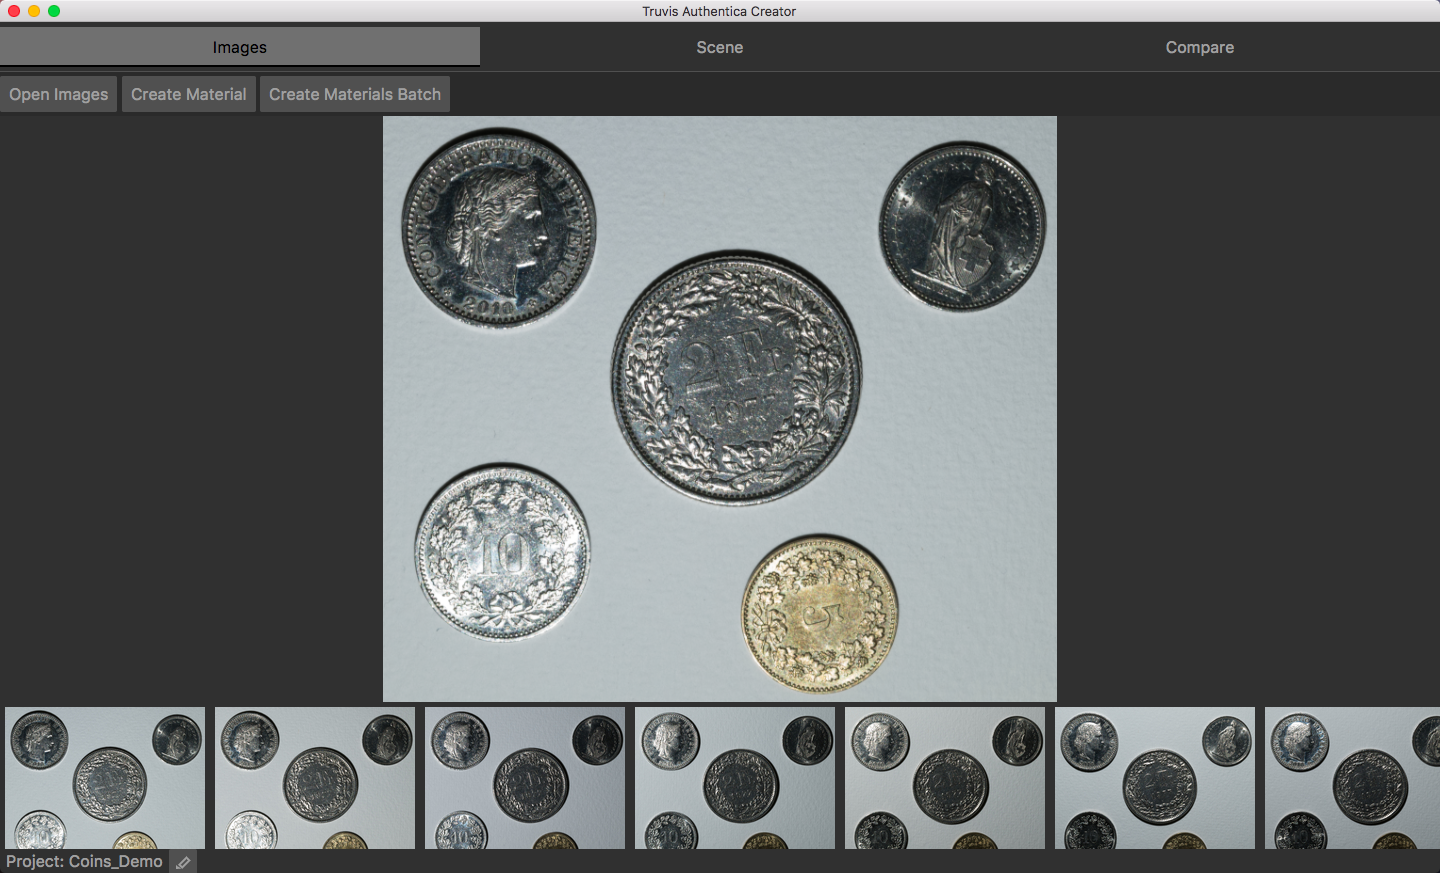
Review Input Images
- To review the 48 TIFF input images click on Open Images.
- In the following dialogue, select the folder containing the TIFF images you have prepared.
- The images can now be reviewed.
- This process creates a new folder named "jpg" within the TIFF images folder.
- It is not mandatory to review the TIFF input images before generating a material. You can also click Create Material and direct Authentica Creator to a folder containing 48 TIFF input images without opening the images first.
Generate a Digital Material
- Click on Create Material.
- In the following dialogue, select the folder containing the 48 TIFF images you have prepared.
- Specify a name for the material.
- Select the device used for acquiring the input images. Either select one of the officially supported devices from the dropdown list, or select 'Custom Calibration' for loading a custom calibration file. For more information on using custom calibrations, see Custom Calibrations.
-
Click on Create.
-
Authentica Creator will now generate the material. This can take a few minutes depending on the input images size. During this time Authentica Creator does not react to further commands.
- Once the material is generated, it will be shown in the Scene tab.
- Whenever a material is generated, also an object and a scene with the same name are created and saved in the corresponding project folder subdirectories.
Advanced Settings
Authentica Creator offers you the possibility to use different settings for the generation of the digital materials. To access these settings you first have to choose Tools -> Show Advanced Controls from the menu bar and then follow the steps described above. You will be presented with two options:
- ULI (Use less images): Is switched off by default. This option can improve the results in cases where the object's surface is highly reflective or does not strictly follow the assumption of being non-transparent. Using this option will result in a longer processing time.
- Sampling: Is switched on by default. Switching off the sampling can improve gloss detection in some cases but will also result in a longer processing time.
Batch Processing
- To generate multiple materials in one go, click on Create Materials Batch.
- In the following dialogue, select a folder containing multiple folders each containing 48 TIFF input images.
- The names of the materials generated in this way will be the same as the names of the input folders.
- A log file named "ACreatorBatchLog.txt" will be generated in the project folder. It contains details on the batch you processed and can be helpful for troubleshooting.